Skip navigation

Category Archives: Python

So one of my goals for the new year is to better document and present my side projects.  I have a habit of playing around with an idea and getting a very bare bones prototype, and then letting it sit and languish.  So to kick things off, I present to you Surf Check.

One of the first python programs I ever wrote was a surf scraping program that pulled surf forecast data from SwellIinfo.com, a surf forecast website, for 6 different locations and printed out a condensed surf report for all of the locations on a single page.  Besides getting experience with python, the main reason I wrote the code was because it was a pain to try and flip through a handful of surf forecast pages on the surf website.  The website is loaded with graphics and ads, and it is not easily navigable.  So a quick check of the surf forecast would end up taking over 5 minutes, accounting for page loads and navigation.  I figured building a scraper to grab the data I wanted and condense it down to one page was a perfect first project.

I wrote the initial scraper around March, 2013 when I was just getting started with Python. Overtime I tinkered around with the program, and eventually decided to re-write it and turn it into a small web page to make it easier to access.  So I added a flask server, re-wrote the scraper code, and set up a simple frontend with a jinga template serving basic html.

surfappscreenshot

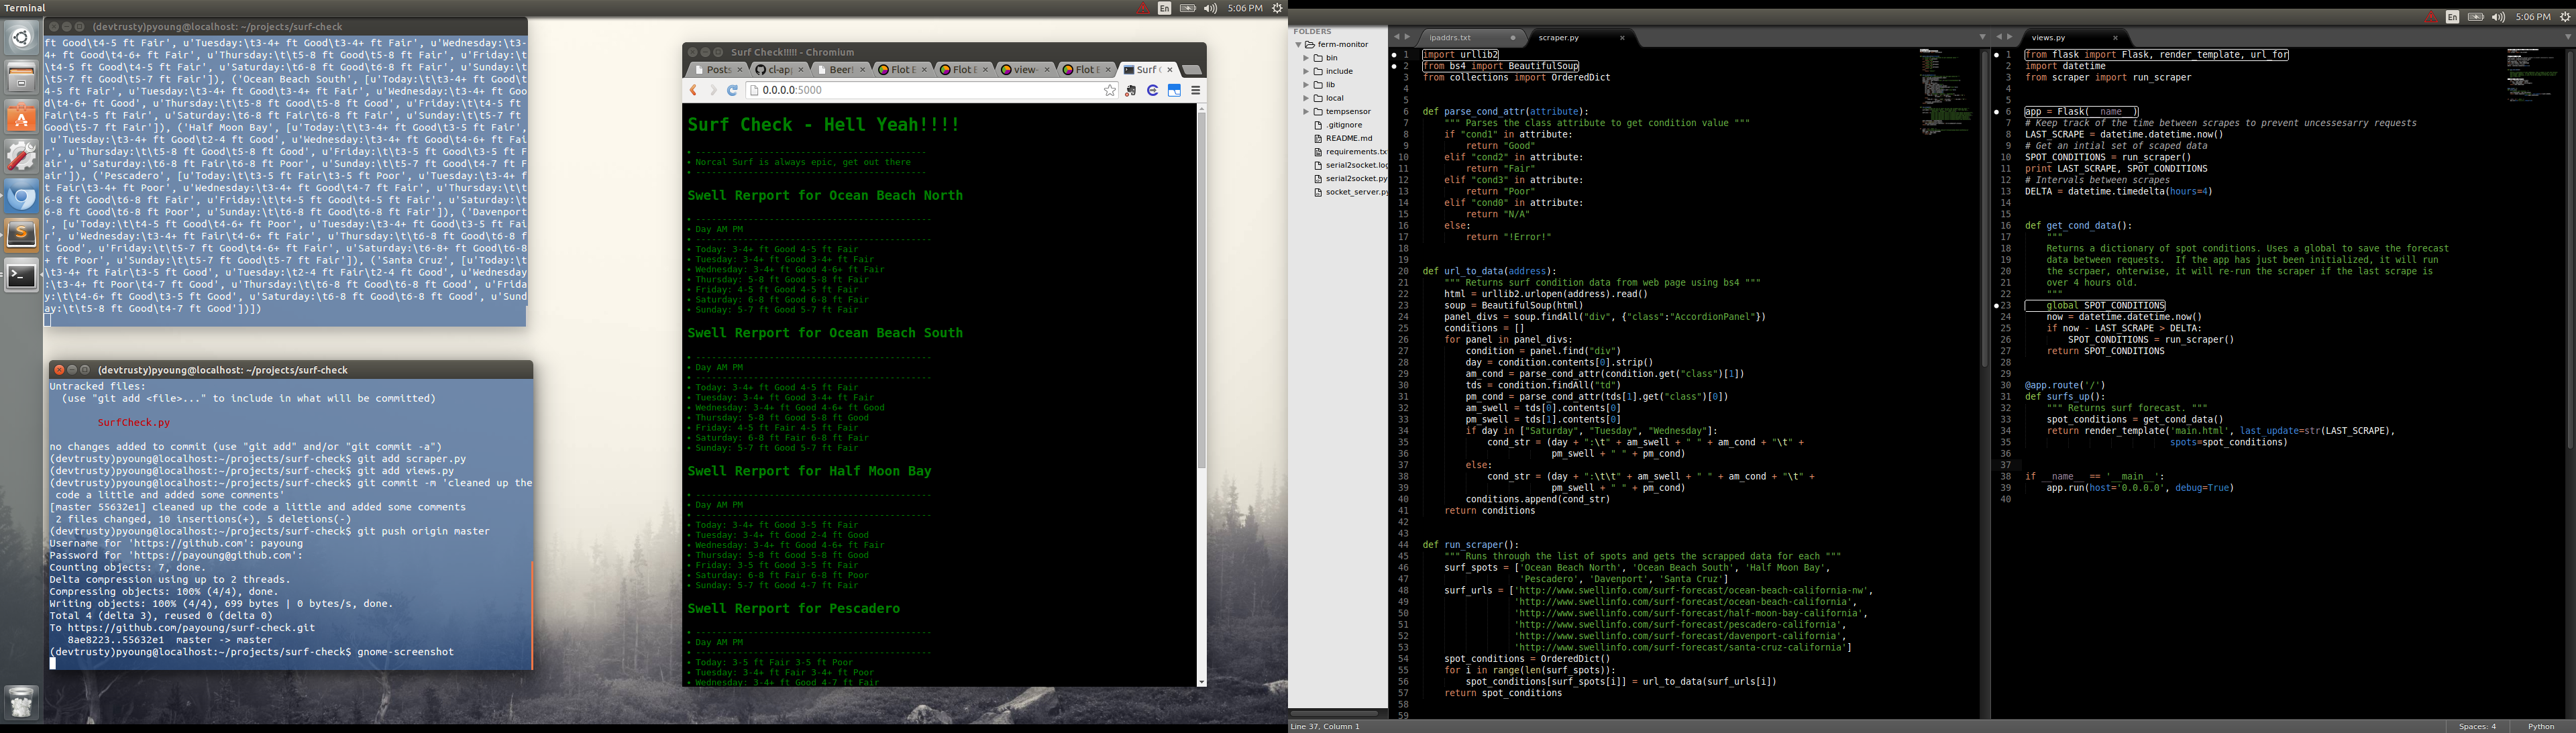
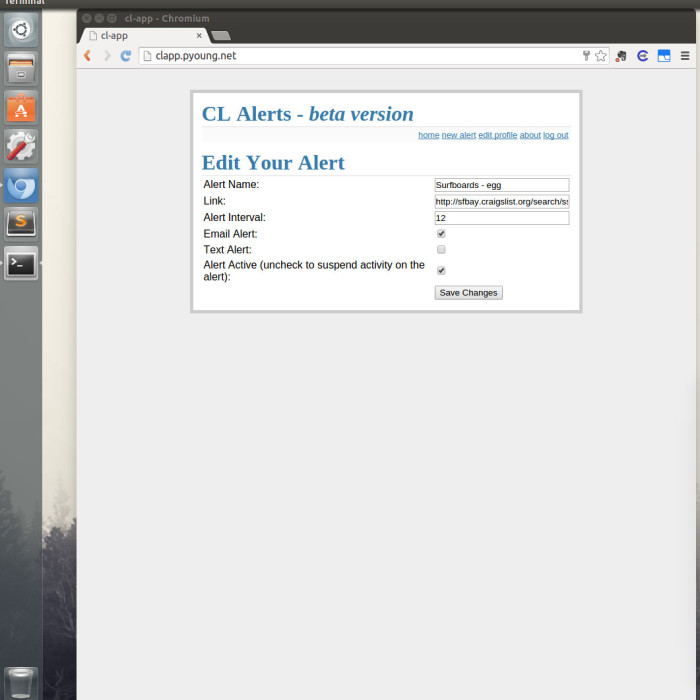
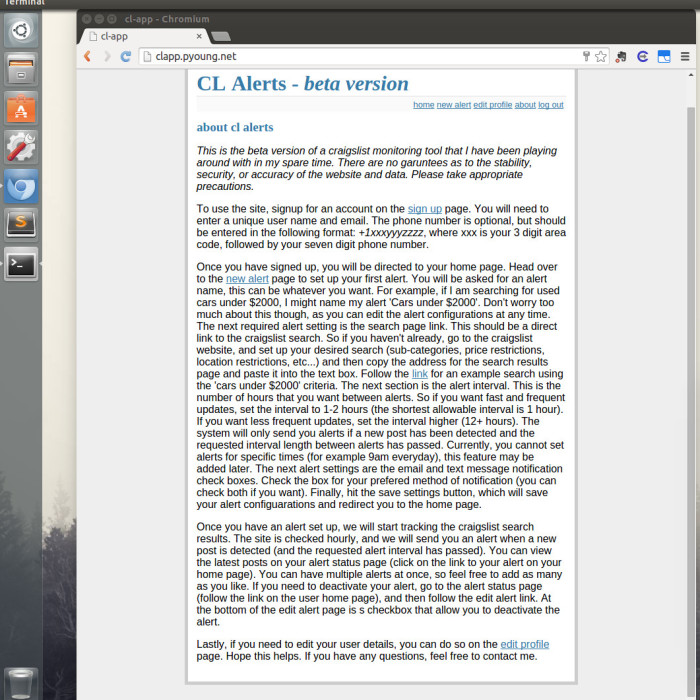
Screenshot of Surf Check Development

Comparing the before and after, I was able to make some pretty big improvements to the original code.  The original scraper was over 160 lines, and the new project is ~140 lines, including flask server, html template, and scraper.  Of course the comparison is thrown off by the fact that for some reason when I wrote the original program, I couldn’t get Beautiful Soup (a.k.a. bs4, a python html parser) to work.  My guess is it was due to my unfamiliarity with object oriented programming and python in general, but I did a weird workaround where I saved the bs4 output to a text file, imported the text file and then parsed the text to get what I needed.  Ahhh, yes, the things we do when we are inexperienced!  Makes me cringe now, but it is a good lesson.  Had I gotten bs4 to work the first time around, I am pretty sure the scraper code would have been pretty similar to my final version.

A quick note on the code for the project.  Below is the bulk of the code that makes up the views.py file.

app = Flask(__name__)
# Keep track of the time between scrapes to prevent uncessesarry requests
LAST_SCRAPE = datetime.datetime.now()
# Get an intial set of scaped data
SPOT_CONDITIONS = run_scraper()
print LAST_SCRAPE, SPOT_CONDITIONS
# Intervals between scrapes
DELTA = datetime.timedelta(hours=4)

def get_cond_data():
    """
    Returns a dictionary of spot conditions. Uses a global to save the forecast
    data between requests.  If the app has just been initialized, it will run
    the scrpaer, ohterwise, it will re-run the scraper if the last scrape is
    over 4 hours old.
    """
    global SPOT_CONDITIONS, LAST_SCRAPE
    now = datetime.datetime.now()
    if now - LAST_SCRAPE > DELTA:
        SPOT_CONDITIONS = run_scraper()
        LAST_SCRAPE = now
    return SPOT_CONDITIONS

@app.route('/')
def surfs_up():
    """ Returns surf forecast. """
    spot_conditions = get_cond_data()
    return render_template('main.html', last_update=str(LAST_SCRAPE),
                           spots=spot_conditions)

Scraping the forecast data from the surf website takes a while, ~9 seconds for all six pages.  If I was expecting a lot of traffic, I would set up a scheduler that would automatically scrape the site in the background so that the data would be available immediately when a request hit the server.  However, as this is just a small project that I am doing for fun, I don’t want to hit Swellinfo’s servers with excessive scrape requests.  So I decided to scrape only when a request was made to my site.  The obvious downside is that this results in a really long load time for the page, as it has to wait for the scrape to finish before it can serve the data.  To mitigate this issue slightly, and to further limit requests to Swellinfo’s servers, I store the forecast data for a period of time (surf forecasts typically only get updated every 12 hours or so).  At the moment, I have that period set to 4 hours, so if the scraped data is over four hours when a request hits my homepage, it will re-scrape the data, however every homepage request in the next 4 hours will get served the saved scraped data.  Additionally, to keep things simple I choose to forgo any persistent data storage.  So at the moment, the scraped data gets stored in a global variable (SPOT_CONDITIONS).  While using global variables in python are looked down, I thought it was an interesting way to change up the typical flasks MVC (Model-View-Controller) model.  Essentially I have just reduced it down to VC.

I thought that code snippet was fun because, despite it’s apparent simplicity, it hides some complex design decisions.  In the future, it might make sense to implement a more robust scraping mechanism, perhaps by figuring out the exact times that the Swellinfo surf forecasts get updated, and then only re-scraping if the data is old (instead of arbitrarily using the 4 hour cutoff).  I have a few ideas for improvements or features I would like to add to the site, but I also have some more ambitious projects on my plate that are hogging my attention, so well see if I get around to it.  If you want to check out either the old scraper code (my first python program) of this current iteration of the project, the links are here:  My First Python Program!!!  Surf Check Github Repo!!!!

Today, sadly, I will be pulling down the CL-App site.  The site has been somewhat non-operational for a while now, as the IP address has been blocked by Craigslist.  I never meant for the site to be anything more than a demo project, so it was surprising that Craigslist was able to detect the activity.   Anyways, for posterity’s sake, I am going to do a quick overview of the site with some screenshots.

Disclaimer: Before Launching into the overview, i think it is worth discussing my thoughts on web scraping.  While I think scraping is a very handy tool to have, I also think it needs to be used responsibly.  If there is an API available, that should always be used instead.  I built the app for my own entertainment and education, it was a great way to learn how to stitch together a number of python libraries and frameworks into a fully functional site.  I had a long list of features and improvements that I though would be cool to implement, but in the end, because I knew Craigslist is hostile to scrapers, I felt it would be best too leave it as is and move on to other projects.

A Brief Overview

The purpose of the site was to alert users when new posts were created under a certain search criteria.  The alerts could be sent via e-mail or text message.  In order to prevent too many requests to Craigslist, the app would check for new updates once per hour, but the user could specify longer intervals between alerts if desired.  Below are some slides showing screenshots of the site.

  • Login Page

As you can see, the site was pretty bare bones.  Considering the main purpose of the app was to send alerts I didn’t feel the need to invest much time in the frontend.  I did add a feature that returned a xkcd style matplotlib plot that compared the number of new posts in the last 24 hours to the average number of new posts by hour.  Had I put more time into this project, adding some more analytics would have been fun.

If I had to rate the usefulness of this application on a scale of 1 (useless) to 10 (useful), I would give it about a 4 or 5.  I tested it out with a handful of different searches, and never found the alerts to be that useful.  Because I limited the alert interval to a minimum of an hour, this service wasn’t very useful for items that moved very quickly (i.e. free items).  In those cases, you would probably want a minimum of 15 minutes between scrapes.  I do think it would work well for someone looking for a very specific or rare item, but I never really bothered to test that hypothesis.  One feature that I found useful was that the alert status page would display the last 10 posts that fell under your search criteria.  I found that switching between my different alert status pages was a very convenient way to quickly check if there was anything interesting under any of the searches.  In essence, it was a page of bookmarks for various searches, and I found that to be pretty useful.

It should be noted that Craigslist allows you to save searches and to send e-mail alerts.  I just noticed this the other day.  You need to have an account with Craigslist and from what I can tell, you cannot control the e-mail alert too much.  I just started an alert on their site, so I can report back on that.

Anyways, that is all for now.  It was a fun project and a good learning experience, but I am glad to be putting this one away.  While I still have a few projects that involve web scraping, and I will continue to dabble with it from time to time, Craigslist is notoriously hostile to scrapers, so getting a cease and desist from them is one less thing I have to worry about.

So I decided to add a cool feature to the Craigslist Alert app that displays a plot of the number of new posts over time for a given search. This chart allows the user to get an idea of how often and at what time new posts are put up on craigslist for their particular search term, which could help the user refine their search and alert criteria in order to get better results.

Because I was already familiar with matplotlib, I figured I would generate the plots using the library and then save the plot as an image that could then be accessed by the flask app. As I was browsing through the matplotlib docs, I noticed a section on xkcd style plots. This seemed like a fun way to present the data so I set up a test script and gave it a run. As it turns out, in order to get the plot to display correctly, you may need to do a couple of things. First, you need the latest version of matplotlib (1.3), so I had to upgrade my version. Secondly, in order to get the font correct, you need to download the Humor Sans font. Finally, you may have to clear the matplotlib font cache. For linux users you can do this by typing in rm ~/.matplotlib/fontList.cache at the terminal. Once you have all of that set up you simply add plt.xkcd() to your code and you will be rewarded with xkcd style plots. Below is an example of the plots that are generated for the CL App.

Paul3

The plots get generated by a function when the viewer loads the alert status page in the web app. The function first checks if the plot exists, and then checks when the last time it was updated. If the plot is more than an hour old, or if it does not already exist, the function will create it and save it to a folder. The file path is returned and put into the html template. Overall, it was a pretty straight forward process. You can check out the code in the github repo (the plot function is in the ‘generate_plots.py’ script).

So my first completed web project is an app that notifies users when a new post appears on a craigslist search. The user can have as many searches as they want, and can receive notifications via email or text message. Here is the link to the app, CLAlerts. The app is pretty bare bones, with a very basic html/css front-end (taken from the flaskr tutorial) and a python/flask/sqlalchemy back-end. The github repo is here. Overtime, I may add a few more features or re-design the app, but at the moment I am just happy to have something that is functional that I can show off.

I was fairly familiar with running a simple flask app thanks to tutorials floating around the web, but this app involved regularly scraping craigslist to check for new posts, which as far as I know, is outside of the capabilities of flask. I have used the linux utility cron to run scraping scripts in the past, and a similar solution seemed appropriate for this app. I wanted to keep things as pyhtonic as possible, so I dug around and turns out there is a scheduler python library called APScheduler. I used the library to run the scraping and message sending tasks for the app. You can check out the final product on github, but below is a sample code snippet.

from apscheduler.scheduler import Scheduler
import time

sched = Scheduler()

@sched.interval_schedule(hours=1)
def run_tasks():
    task1()
    task2()

sched.start()

while True:
    time.sleep(1)
    pass

It’s pretty straight forward. You use the ‘@sched’ decorator to tell APScheduler what functions you want to run. You can define the interval a couple of ways, in this case I am using the interval scheduler, but you can also use a date based or cron style scheduler. The while loop at the end keeps the process running. I read somewhere that using the ‘time.sleep(1)’ line in the while loop stops the process from hogging up CPU resources.

So far this seems to be working. I have launched the app using a micro aws instance. I’ve setup two tmux sessions and have the flask app running in one session and the scheduler running in another. The scheduler runs once an hour and scrapes craigslist and sends out the alerts using the Twilio API for text messages and the python SMTP library for email. So far it seems to be running fairly reliably. At one point, the scheduler appeared to freeze and I had to kill the process and restart the script. I still haven’t figured out what caused it, my only guess is that the script froze up on a database connection error. I am currently using sqlite which can’t handle simultaneous writing, but at the moment, I don’t have a way to test this theory. If I find the time, I might try and set up a test for this. I’ll make sure to write a post about it if I do.

As I mentioned in my previous post, I was struggling to get the Flask login manager and the sqlalchemy ORM to work together, so once I got it working, I felt it would be a good idea to create a separate github repository with template code so that I don’t have to repeat the process again. It turns out that flask has it’s own sqlalchemy extension that abstracts away a lot of the sqlalchemy setup and integration. Unfortunately, I was not made aware of this until after I finished the template. Regardless, I got the login manager working without the flask-sqlalchemy extension, and it turns out I prefer the syntax of this method anyway, so I am sticking with it.

The github repo for the login template is here. The readme contains the installation and setup instructions for linux users. Once the flask server is up and running you should be able to view the app through a local web browser.

One of the big benefits of using the flask login manager (as opposed to dealing with authentication yourself) is that it is now very simple to require authentication to your various views in your app. Here is some example code on setting up a view that requires authentication:

@app.route("/example_page")
@login_required
def example_page():
    message1 = "Hello, " + current_user.name
    message2 = "Here is your example page"
    return render_template("example_page.html", message1=message1, message2=message2)

Simply adding the ‘@login_rquired’ decorator is all that is required to ensure that the page can only be viewed by authenticated users. Additionally, you can access the logged in user through the global current_user object.

Some additional benefits of the flask login manager is it will handle cookie management and “remember me” functionality. It should be noted that this template is pretty bare bones. Outside of getting the flask login manager setup with a sqlalchemy database and some simple html pages, there really isn’t much else there. So there you go, let me know if you have any questions.

So I finally caved. After almost a year of resisting, I inevitably jumped into the world of web-dev (well, more accurately, I have timidly stepped into it). I think what finally pushed me over the edge was that websites and apps are both useful and convenient methods of showcasing one’s work to the world (even if the main focus of the project is not web related), and the ability to create a demonstrable final product provides the necessary motivation to actually see some of these projects through to completion.

For the time being, I am taking a fairly minimalist approach to web-dev, focusing primarily on Python based libraries (Flask and SQLAlchemy), and only doing limited amounts of non-python front-end work (html, css). Because web development isn’t my preferred domain, I feel that taking this minimalist approach will allow me to continue to increase my python experience, while keeping the ‘web-only’ stuff to a minimum. And who knows, if I ever get a change of heart, I can always pick up JavaScript and css later (so far it’s been fun, who knows).

I decided that my first project was going to be a web app that monitors craigslist and alerts users about new posts that fall under particular search criteria. In the past year, I have written a number of web scrappers, and have also played around with the Twilio API to send text messages, so I figured this would be a good project to demonstrate some of that experience. Additionally, I had gone through some Flask tutorials (a python based web framework) as well as done some work with SQLAlchemy (a database ORM), so hooking everything up seemed like it would be straight forward enough. But of course, there are always hiccups….

One of the aspects of data analysis projects that I find appealing is that it is very easy (for me at least) to conceptualize the process that takes place when writing an analysis program. Even when using large, powerful libraries and tools to work with the data, I find it relatively easy to understand the transformations and operations that are taking place. This makes writing and debugging code fairly straightforward as I know what I want to do, and I can anticipate where problems might arise. One of the issues I have with modern web development is how much of the work is actually black-boxed. Over the last 10 years, web development libraries and tools have advanced tremendously, allowing developers to greatly increase their productivity, but the downside to this is that until you have significant amount of experience under your belt, it can be very difficult to develop insight into the inner workings of the libraries you are using. So for someone like myself who has limited experience with these frameworks, running into bugs can be very frustrating, as I do not posses the intuition or insight to solve the problem quickly.

This brings me to the subject matter of my next post. In the process of setting up the web code for the craigslist project, I ran into a frustrating issue that seemed to fall between the cracks of the available tutorials and stackoverflow posts. The issue arose when I attempted to setup the flask login manager to take care of authentication for the different web pages (essentially controls what users can see what pages). The available example and tutorials demonstrated the use of the flask login manager with a generic, non-specific ORM. For those well versed in how Flask interacts with ORM’s this probably was the best way to present the information, but for me it resulted in some long, very frustrating hours trying to get the login manager to hook up to SQLAlchemy. I’ll save the details for the next post, but in the end, I decided that it would be a good idea to create a Flask-SQLAlchemy-Login template so that the next time I needed a login system for a project, I wouldn’t have to go through the painful process again.

In a previous post,  I discussed the problems I have run into with my thin client setup.  One of the main issues has been moving data around from different machines, especially if I want to do some work locally.  One partial solution that I have discovered, which could make life a little easier is boto.  Boto is a python library that provides an interface to Amazon Web Services.  I have found the S3 API to be very helpful in reducing some of the pain points in the thin client setup.  Instead of having to manually push data around, I can setup boto within my python scripts, and they will automatically retrieve data from S3, as well as save the results back to S3.  This saves a lot of time when running temporary EC2 instances, as I no longer have to push and pull data manually, but can just load up the python script (or more preferably, clone a github repo, more on that later) and run the code.

I wrote some python code that wraps some of the more common boto methods that I have been using.  I have posted the code on gist, so I won’t go over it in too much detail here.  At the moment, you can push and pull data from S3 using the push and pull methods, and I will soon be adding a few more methods, such as retrieving the file list of buckets.  One issue that I ran into was with establishing a connection to S3.  Apparently Amazon ‘prefers’ a certain naming convention for S3 buckets to ensure that they are DNS and SSL compliant, however they don’t advertise this very well.  The bucket that I was trying to connect to was called ‘belkin-data’, and from what I gather, the ‘-‘ was outside of the naming convention.  The boto connection method, with default settings,  will fail if the naming conventions are not met.  This is pretty ridiculous, as it wasn’t obvious from the error message what was going on, and this was a pretty obscure error to look up on the web.  Anyways, the way to fix this was to modify the calling format to allow for connections to buckets with non-conventional names.  I have posted the snippet of code below, with some comments, in case anyone else runs into this error.

import boto
import boto.s3.connection
import credentials as cr
"""
I save my credentials in a python file called credentials.py
and import them. This allows me to post the code publicly,
without having to make any modification (obviously I don't post the
credential.py file)
"""

# Connect to S3
conn = boto.connect_s3(
        aws_access_key_id = cr.access_key,
        aws_secret_access_key = cr.secret_key,
        # If outside the US Classic Region, you need to define host or location arguments
        host = 's3-us-west-2.amazonaws.com',
        # The calling format needs to be changed to OrdinaryCallingFormat() 
        # if your bucket name does not comply with amazon conventions
        calling_format = boto.s3.connection.OrdinaryCallingFormat(),
        )

# Connect to bucket
conn.get_bucket('bucket-name')

Once the connection was established, I didn’t run into any major issues working with boto. As I mentioned earlier, this has made setting up quick EC2 instances much less painful. I was originally using bash scripts to push data around, which did the trick, but it is a lot nicer just to be able to do this inside of python. In the next few days I will look into using boto to launch EC2 instances, as that will hopefully solve another pain point (sitting around waiting for EC2 to initialize is a good excuse for a coffee break, but can kill productivity).

So I got around to doing an actual cython performance comparison.  As was expected, converting python code to cython results in fairly substantial performance gains.  I’ve posted the code on github, and will show the results here.  I simply took the primes example in the cython tutorial, and created a python version, and modified the cython version a little bit.  The python version is below:

def primes(kmax):
    p = [0] * kmax
    result = []
    k = 0
    n = 2
    while k < kmax:
        i = 0
        while i < k and n % p[i] != 0:
            i = i + 1
        if i == k:
            p[k] = n
            k = k + 1
            result.append(n)
        n = n + 1

    return result

For the cython version, I modified the original static array in the code to a dynamic array using malloc. This allowed me to pass in the desired length of the primes return, without having to use an upper bound exception, as is done in the original cython tutorial. This was a little frustrating, as I was not familiar with malloc, and it is a good example of why python is such a wonderful language to use (assuming you don’t have performance issues). The cython code is below:

from libc.stdlib cimport malloc, free

def primes(int kmax):
    cdef int n, k, i
    cdef int *p = <int *>malloc(kmax * sizeof(int))
    result = []
    k = 0
    n = 2
    while k < kmax:
        i = 0
        while i < k and n % p[i] != 0:
            i = i + 1
        if i == k:
            p[k] = n
            k = k + 1
            result.append(n)
        n = n + 1

    free(p)
    return result

As you can see, there is still some python code in the cython function. One of the limitations with cython, is that if I want to run the cython function from a python script, I need to return the results as a python object. Of course, I could just run everything in cython!

I created a script to time and plot the performance of the two functions over a number of input values. Here is the result:

cython_speed_test

So as you can see, the partial cython implementation vastly outperforms the python function.  This gives you an idea of what kind of overhead the python interpreter brings to the language.  So know that I have a good idea of what kind of performance gains I can get using cython, I am going to try to implement some of these in my algorithms.  From what I understand, I simply need to convert python data objects to cython data types in order to get the code to compile to C.  I think a fun future project would be to write a python script that automatically converts common python data objects to their corresponding cython counterparts.  If I get a little time in the near future I may give that a shot.

In my continuing quest to improve my scores for the discrete optimization class, I stumbled upon a data structure called ‘k-d tree’ (short for k-dimensional tree).  Supposedly it is a really good data structure for spatial data, allowing for fast nearest neighbor searches.   The scipy.spatial library has an object called KDTree and cKDTree, both of which are implementations of the k-d tree data structure.  The primary difference between the two is that KDTree is implemented in python, whereas cKDTree is implemented in Cython.

I wrote up a quick test case to get an idea of the performance improvements provided by the special data structures.  For the baseline, I wrote a function that simply loops through a set of coordinates and grabs the nearest neighbor to a specified set of coordinates by calculating and comparing the distances of the specified set of coordinates with every other set.  In the second test case, I used the scipy.spatial KDTree object to store the coordinates, and then used the query method to get the nearest neighbor.  The third method was identical to the KDTree method except I used the cKDTree object.

I created a random set of coordinates and then ran each function 1000 times to get an idea of the speed of each method.  The code is posted on gist.  The results are below:

Method 1 (using for loops) time:  2.42
Method 2 (using kdtree) time:  0.37
Method 3 (using ckdtree) time:  0.12

As you can see from the results, both of the k-d tree methods were significantly faster than using a for loop.  Additionally, the cKDTree implementation was fairly faster than the KDTree function.  One issue I ran into was an overflow error on the KDTree implementation when using a list of coordinates with more than 100,000 points.  Due to this issue, and because the use of cKDTree is nearly identical to KDTree (and faster), I would recommend using cKDTree.  I am going to throw this into my latest TSP solver and see if I an get some performance gains.  I’ll let you know how it goes.

So I have been playing around with Cython, which is an optimizing static compiler for Python that allows users to write python extensions in C, as a possible method to improve my algorithm performance for the discrete optimization class I have been taking.  In theory, by compiling the code before execution, the overhead associated with the python interpreter is reduced, which results in performance gains.  An additional benefit of the package is that it can run unmodified python code, so it is pretty easy to convert existing programs to cython.  I figured I would drop in my latest implementation of the Tabu Search algorithm that I wrote to solve the Traveling Salesman Problem (TSP) and compare the run-times between the two implementations.  The results of the comparison are below:

time_plot_cython

As you can (or can’t see) there is hardly a difference between the two implementations.  I was initially encouraged by the fact that the Cython implementation was running a second or two faster for the smaller TSP problems, but as the problem size increased, the time savings remained in the range of a few seconds, which doesn’t help at all.  I imagine that If I go in and re-write/translate the existing python code in the cython extension to C, I can probably see some performance gains, but merely dropping python code into a cython extension only has limited benefits.  I might go back and give this a shot, but for now I am going to keep plugging away in python.