Skip navigation

Monthly Archives: March 2017

One nice thing about having a few extra Raspberry PI’s lying around the house is that every now and then a then you stumble on a really cool use case for them.  About a year ago I spent an afternoon installing RetroPi onto one of the Pi’s that I had laying around.  With the addition of USB wireless receiver I was able to hook up some old xbox controllers and before I knew it I was playing some old console classics at home.

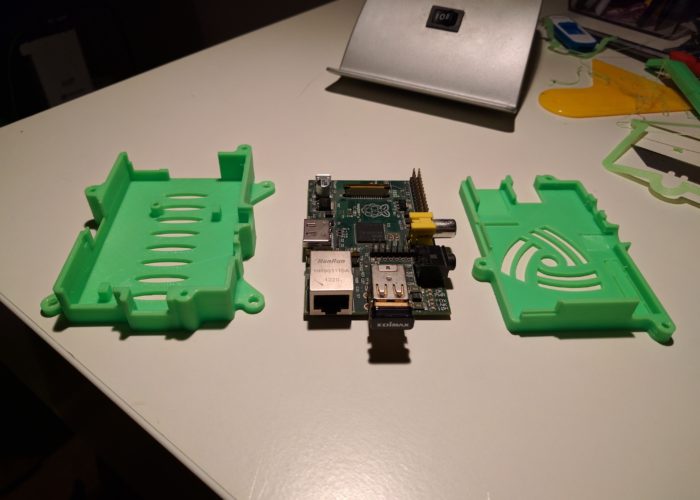
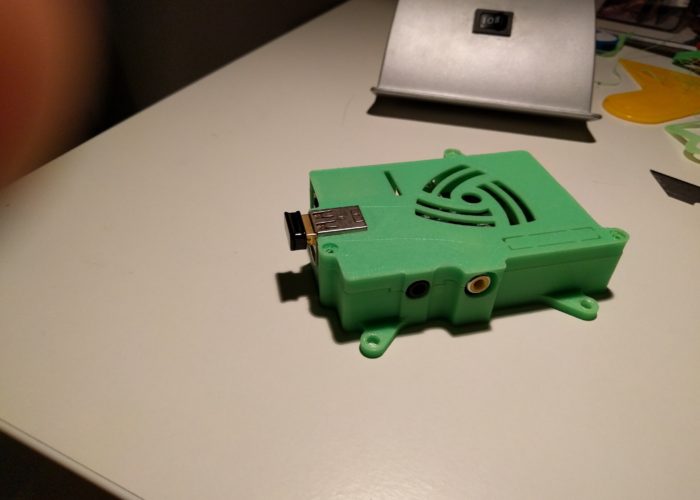
My recent endeavors into the world of 3D printing presented another opportunity to put a RasPi to use.  An open source project called OctoPrint allows people to monitor and control their 3D printers across a network.  Since I had an extra RasPi on hand I figured this would be a good use for it.  An added bonus is that it would allow me to tuck the printer into a small space near the window (good for venting when in use) because I would no longer need access to the microSD slot to transfer files.

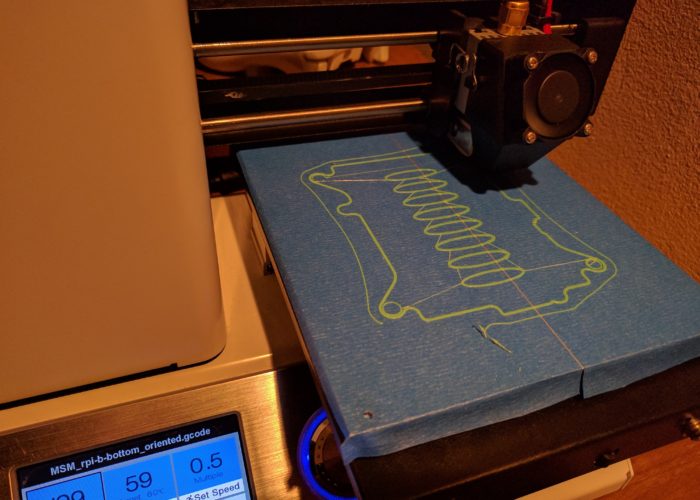
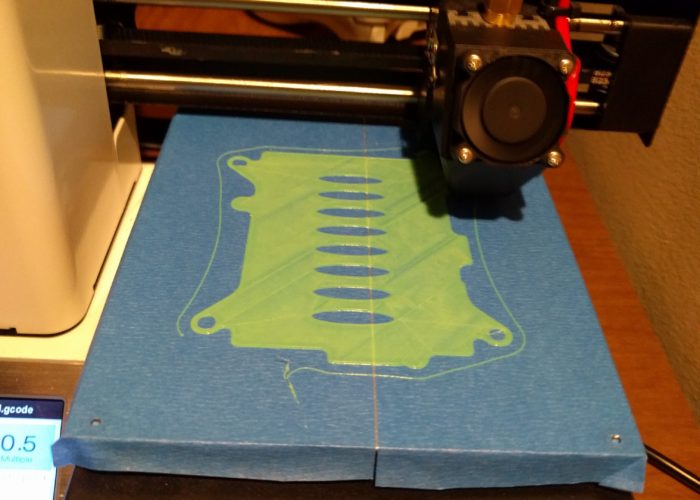
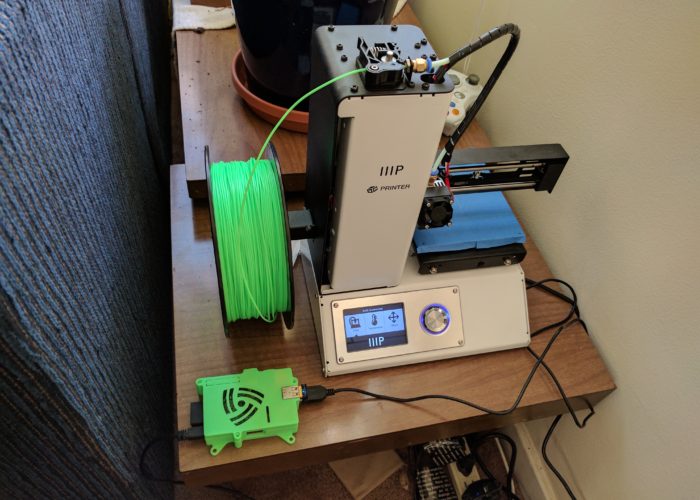
  • Getting the printer setup in the corner.

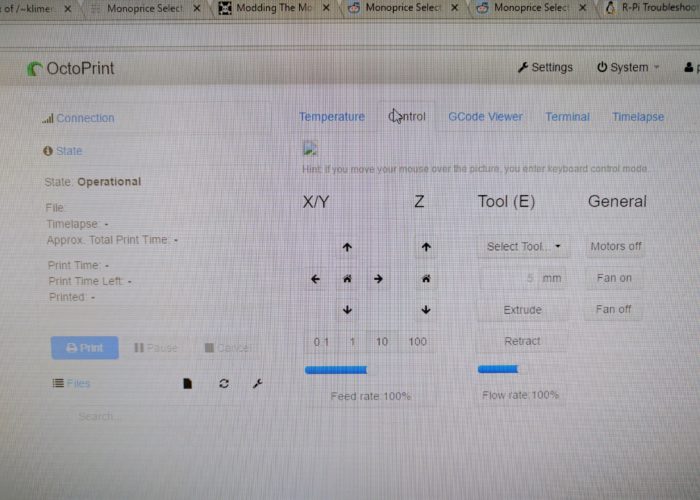
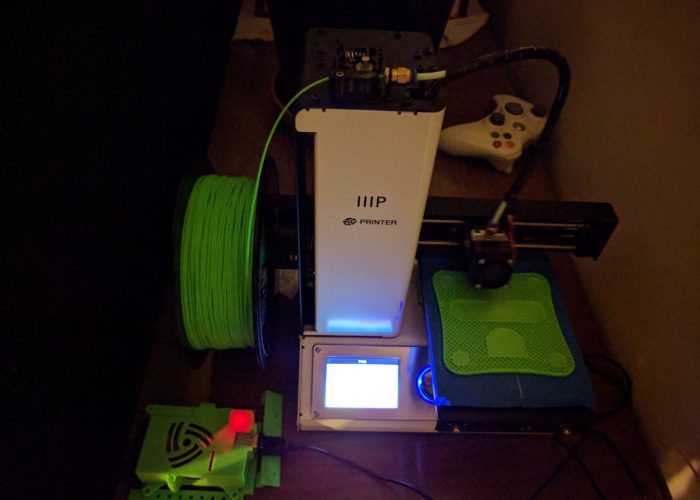
Setting up OctoPrint on the raspi was pretty easy.  Just follow the instructions on the website.  Once the Pi is setup, I plugged it into the Select Mini and connected to the octoprint server via a browser.  It took a few tries to get the Pi to connect to the printer, but within a few minutes I was moving the printer head using the OctoPrint controls.  It was pretty awesome.

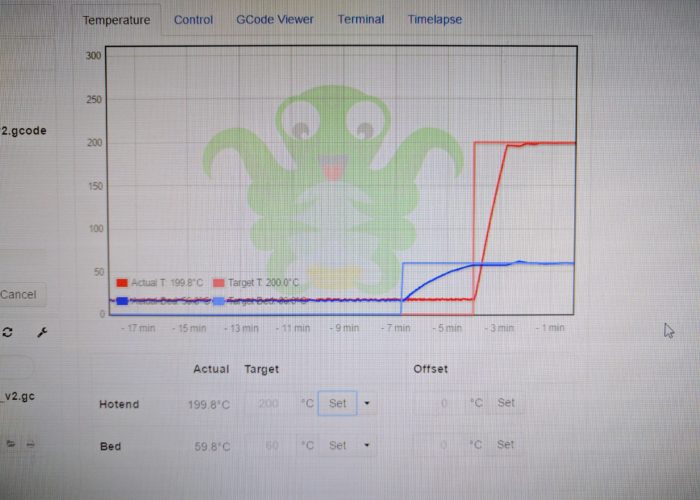
One word of warning.  In the middle of a print I was moving some of the cords around to make sure they didn’t get caught by the printer movements.  The PI->USB power cord connection isn’t that great, and when moving them around, it may have resulted in a quick interruption in power.  This caused the print to stop.  After digging around, it looked like there was no way to get the print going again, so I had to toss the half finished part and start again.  In normal printing mode (without the OctoPrint) the select mini is capable of pausing and restarting a print based on the user’s commands.  But because the OctoPrint software streams the instructions to printer, neither system is capable of knowing exactly what instructions were executed, so there is no safe way to restart the print. Of course, in normal mode, if you suffer a power interruption, you probably will loose the print as well, so not a huge deal.  But basically as a word of caution, make sure you have a good power connection to your RasPi.  Other than that one incident however, it has been pretty awesome.  I have printed a handful of parts and it is really cool to see the temperature profile of the printer as well as some other stats.

A few Friday’s ago I was enjoying some adult beverages and playing around with some humidity sensors.  I decided it would be cool to expand beyond just measuring humidity and temperature by adding some air quality sensors to the project.  So I dug around on the internet to see what kind of cheap sensors were out there.

After a bit of digging around on the interwebs I ended up on Aliexpress and started adding some sensors to the shopping cart.  I am normally fairly frugal and try to justify most of my expenses, even on hobby projects.  But with the lowered inhibitions thanks to the beer I let myself go a little overboard with the order.  While adding items to the cart, I noticed that the shipping costs added for each part was rather random.  After some further investigation, I stumbled on a neat little trick to keep shipping costs down.  Aliexpress is essentially a portal for sellers and distributors.  From what I could tell, each seller has their own shipping cost rules.  For example, some sellers will add a flat shipping charge for each part, whereas some will discount the shipping costs per part as the order volume increases.  And if you look hard enough, you can find some sellers that charge a flat fee, regardless of the number of parts.  So if you limited your order to only items offered by one or two sellers with the ‘fee per order’ structure (most sellers sell a lot of similar stuff anyways, so it’s not hard to get most of what you need from a single seller), than you can reduce your shipping fees fairly dramatically.  After an hour or two of digging around I queued up an order for a dozen or so sensors and other items for a grand total of ~$40.  Considering how much I can spend at a bar on a typical night out with friends, this was a fairly reasonable total for a Friday night of ‘fun’.

About a month later, the package arrived at my doorstep.  By the time it had arrived (it takes a nice long journey via boat from china) I had forgotten most of what I had ordered, so was eager to check things out.

They packed things in tight.

It’s pretty crazy what you can get from China these days.  For ~$40 I got some CO sensors, Alcohol sensors, soil moisture sensors, some microcontrollers, a camera module, a VOC sensor, and some LiPo charging boards.  This will be enough to keep me busy for awhile and I am excited to put some of these sensors to use!

lol, Things were going so well… It was too good to be true.

After a rather trouble free introduction into the world of 3D printing, I ended up running into a brick wall of sorts.  I came up with a list of things I wanted to print, and carved out some time on the weekend to get things up and running.  The first item on my print list was a Raspberry Pi case.  I set the printer up and kicked the print off and immediately noticed there was a problem.  The initial lines that the printer was laying down failed to stick to the print bed, and as the printer head moved around they would catch on the head and soon formed a messy pile of printed filament.

In the spirit of keeping this post short (I have a tendency to ramble).  I initially thought the culprit was humidity (specifically, PLA has a tendency to absorb water over time).  I tested this theory by pulling out the small roll of sample filament and attempted to print a bike tool.  Didn’t work.  I then ordered some glue sticks as that solution was mentioned a number of times on internet forums.  Didn’t work.  I sat on it for a week, digging around the various corners of the internet for a possible solution.  Finally, I decided to go back to the basics.  I pulled off the painter’s tape and replaced it with a fresh strip.  I re-leveled the bed, this time being extra careful on each corner (turns out the bed was quite high), and then kicked off a print.  And viola… It worked.

  • First attempt at the pi case, definitely not working.

Still not sure if it was the painter’s tape or the bed leveling that fixed it.  If this issue pops up again I will try and test out both.  Anyways, stoked to have the printer up and running again.  I am going to set it up in a tucked away corner of the apartment so that I don’t have to move it around every time I want to use it (I think that creates issues with the bed leveling).  I am also working on setting the printer up with Octoprint (using a Raspberry PI, which I now have a pretty cool case for) because the printer will be harder to access in it’s new location.   Cheers.

EDIT: Forgot to mention that during all of this I also encountered my first printer head jam.  It was most likely caused by some ‘rouge filament’ that got trapped in the head when I was swapping between the sample filament and my normal roll.  Here is a good youtube video that covers how to deal with these issues: https://www.youtube.com/watch?v=Pgsq297zdAs