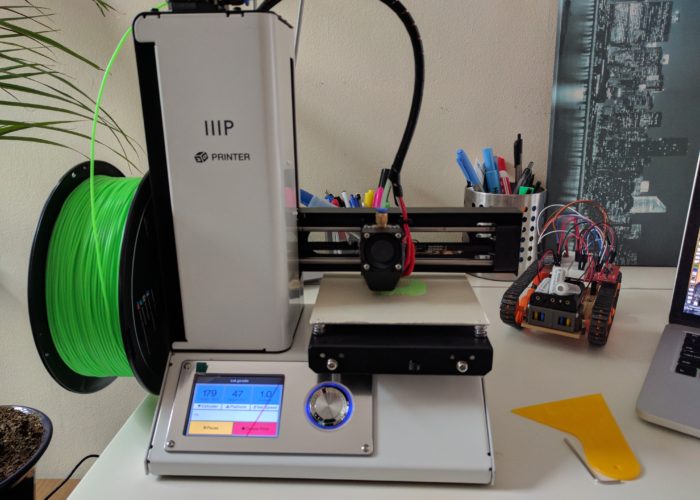
I hope everyone had a Merry Christmas! I was rather surprised to find a 3D printer under the tree this year. My girlfriend went in with some of my family and got me a MP Select Mini 3D Printer. While the gift wasn’t totally unexpected as I had dropped a few hints, even at ~$220 it was well out of the range of what my family normally spends on gifts (hence the group effort). And while I thought it would be cool to own one, I admittedly don’t have a ton of immediate uses for it and found it difficult to justify the impulse purchase considering I live in a pretty small apartment and space is at a premium. But in the spirit of the excessive and unnecessary consumption that typically accompanies this wonderful holiday, I suppose I can allow myself to indulge a little bit in this unexpected surprise. All things considered, I imagine I will get more use out of the 3D printer than the more typical oversized sweaters and sheet sets that tend to get tossed into the closet only to be donated to goodwill a few years later.
I don’t have a lot of (any) experience with 3D printers, so I am not even going to attempt to review or provide any sort of significant feedback on this thing. If that is what you are looking for, then I would recommend this rather excellent review of the printer on Hackaday. In short, the MP Select appears to be a great starter printer that provides comparable performance to printers that are even 3x more expensive. So if you are looking to dip your toes into the 3D printer market, it sounds like this is probably the best printer to start with.
I was able to get the printer up and running fairly quickly. The printer comes mostly pre-calibrated (not really sure what that means), the only calibration required of the user is to level the bed. I followed the bed leveling instructions (involves adjusting the four screws holding the print bed in place, and using a sheet of paper to set the gap between the print-head and the bed). A quarter-turn of each of the screws was all that was required[1].
My gf and family were prescient enough to also get me a few spools of PLA filament (the printer comes with a very small amount of test filament, but not enough to do anything significant). So I set up the appropriate temperatures (still not sure what bed temperature to use, but 50 C seemed to work). The printer comes with an SD card that already has some test print files on it, so I loaded that up and kicked off a test print. However, I immediately noticed an issue. As the printer head was moving into position, filament was ‘leaking’ from the head. So traces of printed material were getting dragged around the print area and creating a nice little mess of things. After a quick internet search, I decided to lower the print-head temperature by 10 degrees, and that seemed to do the trick, and I kicked off the test print.
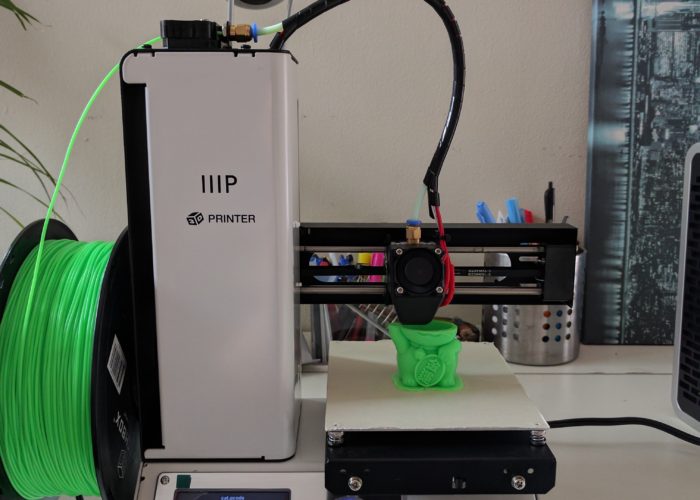
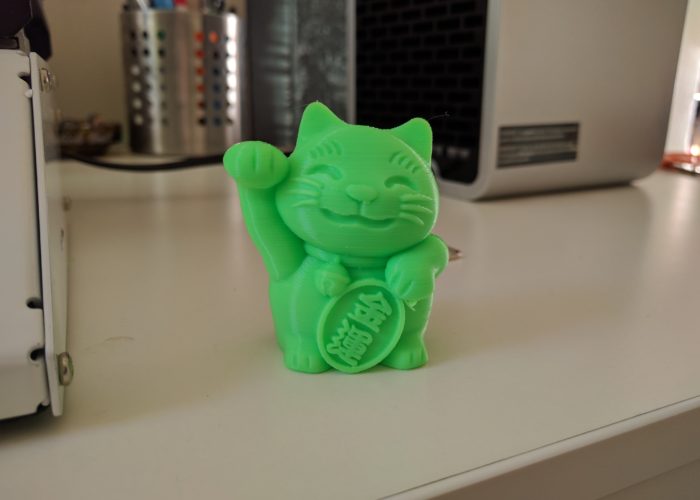
The test print took about 3 hours, and seemed to go perfectly fine. At one point during the print, I got a little panicked as the printer seemed to be printing material in the ‘wrong’ area, and it was creating a little bit of a mess. But it turns out, the printer was attempting to print the paw of the cat, which hangs over the belly, and after a few passes in that area, the base of the paw eventually formed and the print carried on unaffected. If you read the hackaday review, it sounds like this model of printer has some issues with printing overhangs and bridges (areas of a print where there is no material underneath). This is partly due to the lack of a second cooling fan on the printing head (but is an issue with current 3D printers in general). If you look closely at the photo in the slideshow, you can see some errant material under the paw.
Another concern I had was with the air quality in the room. There have been a few studies and articles on the topic, and it was one of the reasons I was hesitant to splurge on a printer in the first place. As I live in a small apartment, I don’t have a lot of options for places to put the printer. For this test print, I figured I would go ahead and print in my living room so I could keep an eye on it. And sure enough, about half-way into the print, there was a very distinct ‘plasticy’ smell that filled the room (and this was with windows open and an air purifier running nearby). Assuming I am not printing 24/7, the emissions are most likely tolerable (probably not too dissimilar to the VOC risks from your soldering iron), but this is a very new technology so we don’t really have any way to know for certain what the long term impacts are, so it is probably best to air on the side of caution. So for future prints, I am thinking I will either put the printer in our garage (which is a little tricky cuse it’s a shared garage for our partment) or build an enclosure with a filtration system.
With that disclaimer out of the way, I can confidently say that this little 3D printer is pretty awesome, and I am excited to put it to use on some of my projects. I don’t have any concrete plans at the moment, but I will most likely start by making a few project enclosures and other simple items/trinkets. But it would be cool to eventually print some parts for a robot or some other mechanical pieces for projects (one of the downsides to living in a small apartment is I don’t have a workshop that allows for fabrication, so in theory, a printer could help fill that gap a little bit). Anyways, I am looking forward to what the new year has in store, and I will keep you posted on any developments. Cheers and Happy 2017!
[1] I am a little concerned about the simplicity of their leveling instructions. You set the printer head to ‘home’ (which puts the head on one corner of the bed) and then they have you use a piece of printer paper as a proxy for 0.05 mm spacing measurement. So you adjust the bed until you can slide the piece of paper between the printer-head and the bed. But it seems to me that if you don’t evenly adjust all four corners of the bed, or if the bed was already a little ‘un-level’, than you wouldn’t have a level bed. (i.e. I feel that you either need to have the print head move to all four corners, and then do the ‘paper adjustment’ on each corner, or you need to use a leveler tool to adjust the bed (although that would level the bed based on gravity, and not necessarily to the orientation of the printer (i.e. if the table the printer sits on is a little unlevel, that would cause issues). Anyway, going off on a tangent here. This is something I should probably follow up on a little, but my test print came out fine, so probably not a big deal.


