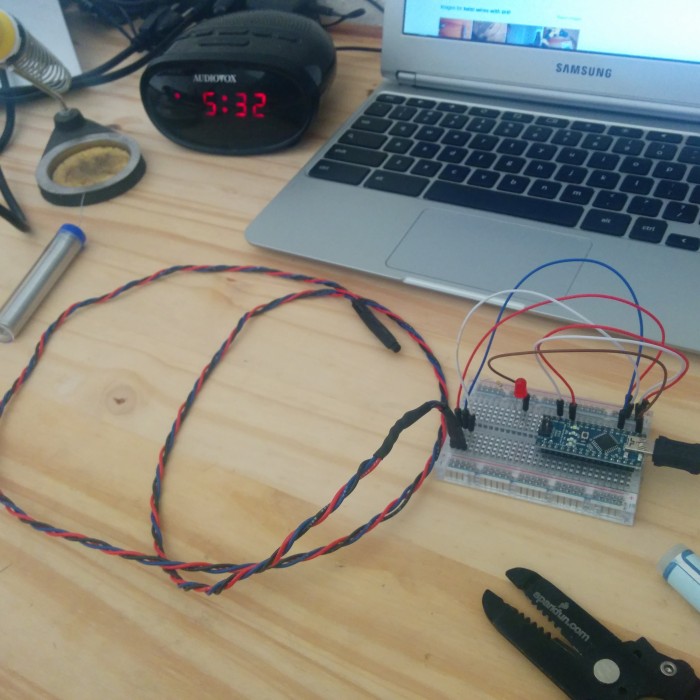
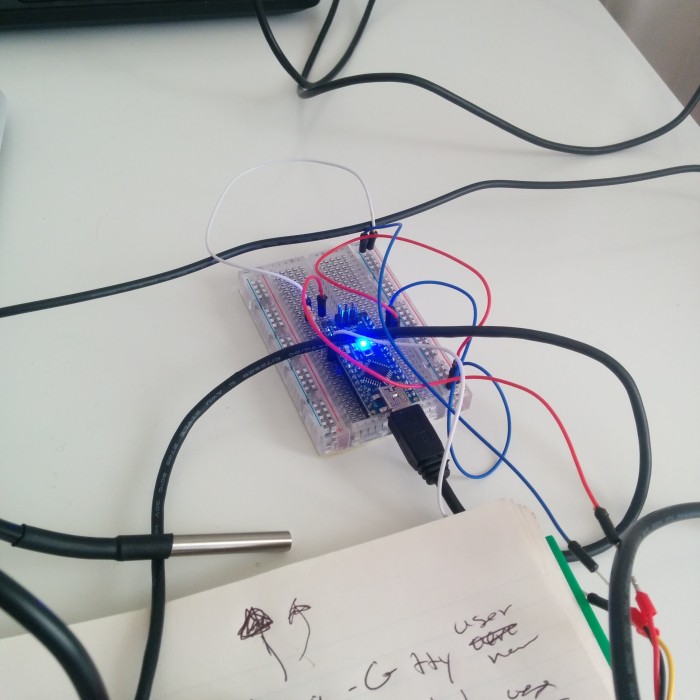
So I finally got around to setting up an Arduino with a temperature sensor in order to monitor beer fermentation. The end goal is to have a web interface in which I can remotely monitor the fermentation.
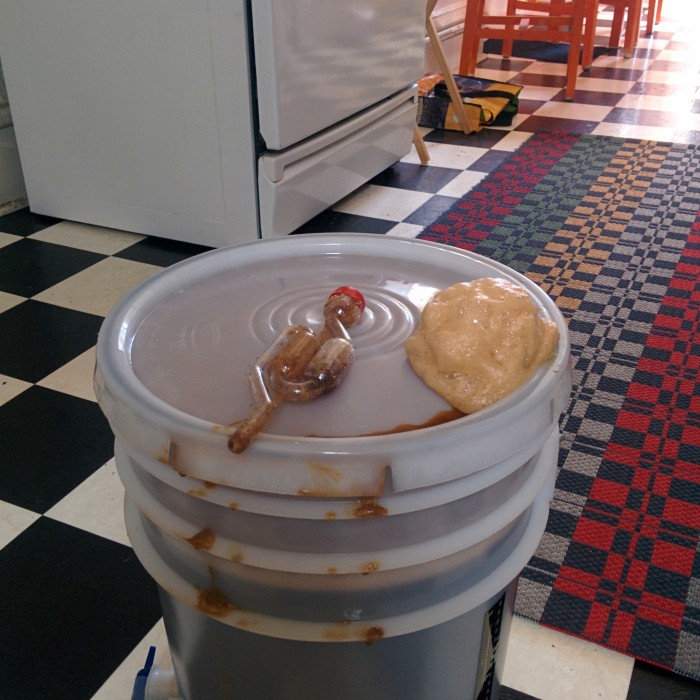
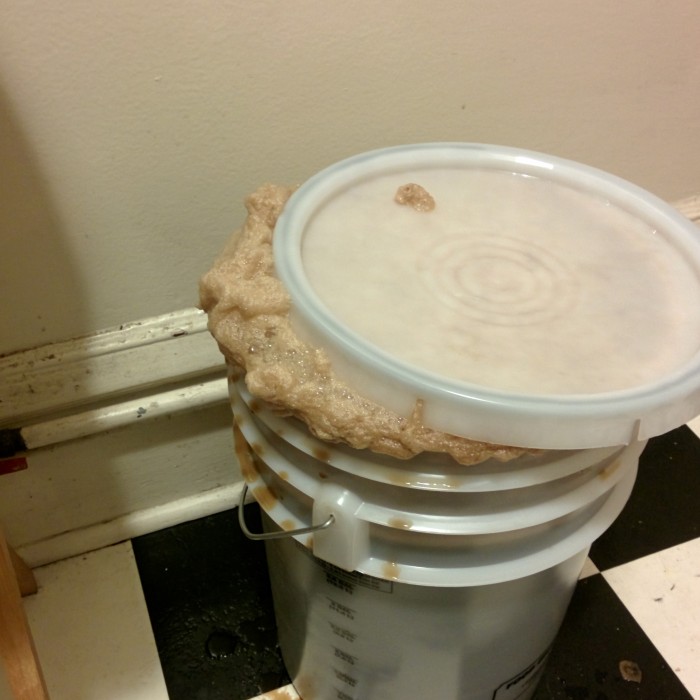
For those of you aren’t familiar with beer brewing, the fermentation temperature is a very crucial factor in the beer brewing process. Not only does it impact the taste of the final product, but if the temperature is too warm, you can get an overly active fermentation which can result in a messy explosion. Ideally, I will eventually add some type of temperature control system, but for now, simply monitoring the temperature is a good place to start.
For a handful of reasons, I have been sitting on this project for a while. The concept is pretty simple, and hooking up a temperature sensor to an Arduino is very much a beginner level project. The primary issue I was struggling with was how to send the data to the remote server. While Arduino’s provide a quick, easy, and cheap way to start playing around with sensors, the available options for remotely communicating with the Arduino all involve some sort of trade off. The available Arduino shields, whether it be wifi, bluetooth, or Xbee, were all pretty expensive. The Spark Core is a nice option, but at the time, it was a little too expensive and the cloud service hadn’t been open sourced [1]. There were a few Chinese wifi chips that were floating around, but they were poorly documented and hard to get a hold of. I had considered using some cheap RF modules, but that solution would require some sort of base station, adding to the cost and complexity.
In the end, I decided to simply hook up the Arduino to a Raspberry Pi. I have a few Raspberry Pi’s sitting around that I use as servers. Hooking them up to the Arduino was just a matter of plugging in the USB cable and reading the serial output. I think in this case, I was letting the ‘perfect be the enemy of the good’. I can always continue to research the other options and make adjustments as new or better options become available. But for now, I am sticking with the Arduino -> RasPi -> Server solution.
The parts list is pretty simple, links and prices provided:
- Arduino Nano – $7.29
- DS18B20 Temperature Sensor – $3.99
- 4.7k Resistor – >$0.10
- Raspberry Pi – $34.99
- SD Card (for the Pi) – $9.99
- Wifi USB Adapter (for the Pi) – $8.99
- Misc: jumper wire, breadboard, solder etc…
So all in, the parts list comes out to ~$70. Of course your cost’s will vary depending on what else you need to buy. If you were starting from scratch, I am not sure I would recommend this setup. As mentioned, the main reason I went with this setup was because I already have a few RasPi’s sitting around, so my costs for this project were around $15. It should be noted that using the RasPi as part of the fermentation monitoring setup does not impact my ability to continue to use them as servers, I simply setup separate tmux sessions for each application. So if you already have a RasPi sitting around, this is a good option to get things up and running quickly.
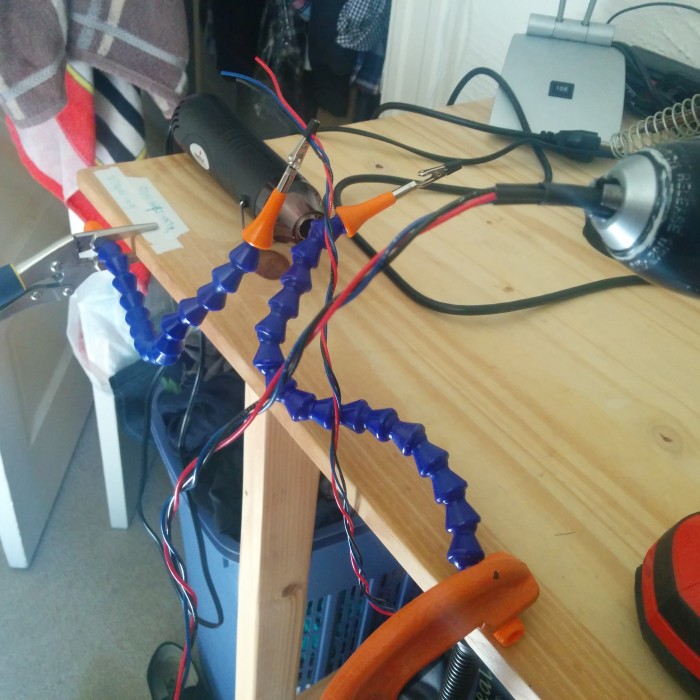
Another issue I ran into was my initial choice of temperature sensor. I was originally using the TMP36, a cheap analog temperature sensor. It was working fine on the bread board, but when I soldered some extension wires to it, the signal got very jumpy. After some research, it turns out that you need do do some serious signal filtering when using analog sensors with long extension wires. I played around with adding some resistors to the circuit to clear up the signal, but eventually decided to spring for digital temperature sensor (the DS18B20 listed above). On a tangential note, one of the downsides to hardware projects (as opposed to software), is if you find yourself in need of parts or components for your project, you can loose a lot of momentum if you have to wait for them to ship to you. In this case, I ordered the temperature sensor form dx.com because it was cheaper and came with free shipping. The catch was that it was shipping from Asia and took over a month to arrive, which killed the momentum on the project considerably. Definitely something to keep in mind for future hardware focused projects.
Once I had a working arduino/temp sensor combo, it came time to write the code. For a simple project like this, there is plenty of sample Arduino code that will do exactly what you need. I personally prefer to try and write the code myself using the tutorials and example code as a guide. Often time the resultant code will end up looking pretty similar to the example code, but I think it provides a much better learning experience to at least attempt to do it yourself.
The Arduino code was pretty straight forward. Using the One Wire libarary for Arduino, I was able to piece together an Arduino sketch that read the data from the sensor, converted the data to a temperature value, and then printed the temperature to serial output. Before this project, I have only played around with analog sensors, so working with a digital sensor was a nice change of pace.
OneWire ds(pin);
//...//
ds.select(addr);
ds.write(0x44, 1);  // send conversion instruction
delay(1000);
present = ds.reset();
ds.select(addr);
ds.write(0xBE);  // read data from scratchpad
With an analog sensor, you simply read the voltage from the signal wire, and then use a formula to convert that signal into some form of data. One wire digital sensors require two commands to get the data. The first command ds.write(0x44, 1); instructs the sensor to perform an internal conversion and write the data to a scratchpad (a small piece of RAM on the sensor). In order to give the sensor time to perform the conversion, we issue a delay(1000), and then finally we read the data with ds.write(0xBE);. The ds.select(addr); is used to address a specific device. The cool thing about these sensors is that you can daisy chain them (which is why you need the select command), so when I get more time I will definitely be exploring this because it would be nice to have multiple temperature sensors running off the same Arduino. That way I can monitor the ambient temperature as well as additional fermentation vessels.
After uploading the sketch to the Arduino, I got started on the Python code. Since I was using a RasPi to interface with the Arduino, it would have been easy enough to simply read the data from the serial port, and then set up a Flask server on the RasPi that could be accessed from the internet. However, I eventually would like to add a handful of additional temperature sensors to the project, possibly in different locations, so I felt it was a good idea to learn about and tinker with socket programming in python.
The code for this project is available on github. The Arduino sketch is located in the tempsensor directory (tempsensor.ino). The sketch can be uploaded to the Arduino using any computer that has the Arduino IDE, and once the sketch is loaded, the Arduino can be hooked up to the RasPi (you do not need to install the Arduino IDE on the Pi, the Arduino will start running the Sketch once powered via the usb). The serial2socket.py program is run on the RasPi, and will pull the temperature data from the Arduino and send it over the network using a socket connection. The socket_server.py program is primarily for testing purposes. The program can be run on a second computer or server and used to verify that the RasPi is sucessfully sending the temperature data across the network. See the repo readme for more information on setting up and running the code.
While I have played around with the try/except pattern in python before, socket programming relies heavily on the pattern due to the potential connection issues that are typical when communicating across a network. In order to handle these potential issues, I wrote my own custom error handler.
def error_handler(errmsg, message, stop=True):
    """
    Handle Errors for main function
    errmsg: the exception error message
    message: additional message
    stop: default=True, stops exectution of code
    """
    message += " Error Code: " + str(errmsg[0]) + " - " + str(errmsg[1])
    print message
    rightnow = str(datetime.datetime.now())
    logging.debug(rightnow + ": " + message)
    if stop:
        sys.exit()
In order to ensure some robustness in the program, it was necessary to allow the program to continue running after a failed connection attempt. I choose to implement a simple counter that tracked the number of consecutive failed attempts, and if there were 10 failures in a row, exit the program. The error handler allows me to specify whether to exit the program or not, and i can also pass custom error messages that are then printed to the log. That way I can keep an eye on any issues that might be cropping up and make adjustments to the heuristic as necessary. So far, my tests have been running pretty smoothly though.
As I mentioned previously, the socket_server.py code is primarily meant for testing purposes. I am currently working on another git repo that will contain more robust socket server code as well as the web application code. The reason for keeping these repos separate is because I will probably be updating the application code fairly frequently, and having a bunch of copies of the application code sitting on the sensors isn’t really necessary.
That’s all I have for now. I am pretty excited about this project. One of my goals is to eventually turn the sensor-server communication into a full blown API with an authentication system and rate specifications (so you can specify how frequently you want to send/update the temperature data). I will be posting about the web portion of this project shortly, so stay tuned.
[1] Since I originally evaluated Spark’s offerings, they have released a cheaper chip, the photon, and have opened sourced their cloud software. Something to keep in mind for future versions of this project.
