A few nights ago I got around to putting together a tank chassis for what will eventually become some sort of robot tank. I am still not 100% sure what the goals are for the robot. I know I want to be able to control it over wifi, and I will most likely have some form of distance measuring sensors for obstacle detection.
A few years ago I had ordered a MiniBot kit from sparkfun. I wrote a few posts on some of my experiences with the kit, but the tldr was that the FTDI chip on the board was faulty, and while Sparkfun was nice enough to send out a replacement, it was a long while (due to my own procrastination and some other obstacles) before I actually had a working bot. During that period, I had been ordering some parts here and there for planned upgrades to the bot (it was designed to be very customizable, which was cool). After a while, I realized that I had enough parts to build a second bot from scratch (in part thanks to the faulty board that originally came with the kit, some of the components were salvageable). So I figured, instead of chopping up the working MiniBot, why not just build a second one and have two!
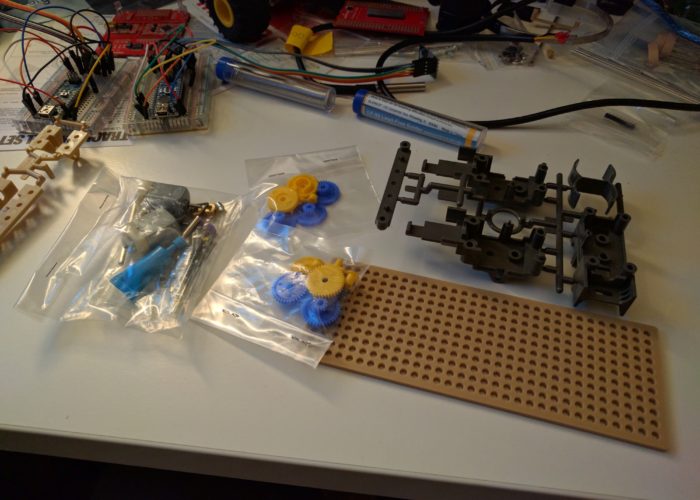
The first step in building a tank robot is to setup the chassis. An RC company called Tamiya sells some parts that make this pretty straight forward. Here is a list of parts that I used, you can find these on Sparkfun, Amazon, and a number of other websites:
- Tamiya 70168 Double GearBox
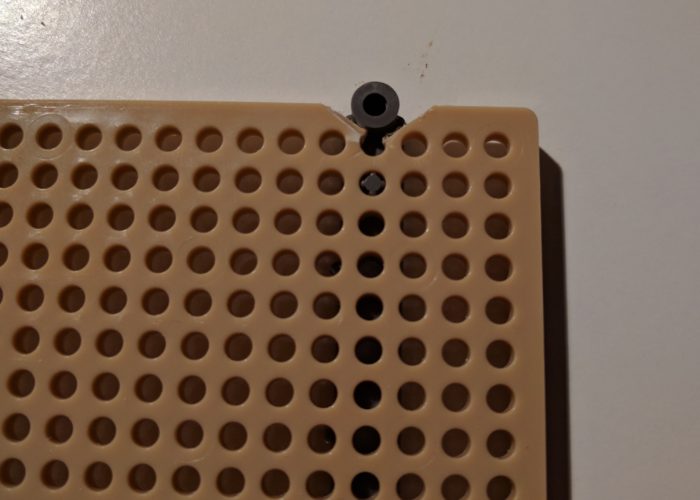
- Tamiya 70098 Universal Plate
- Tamiya 70100 Track and Wheel set
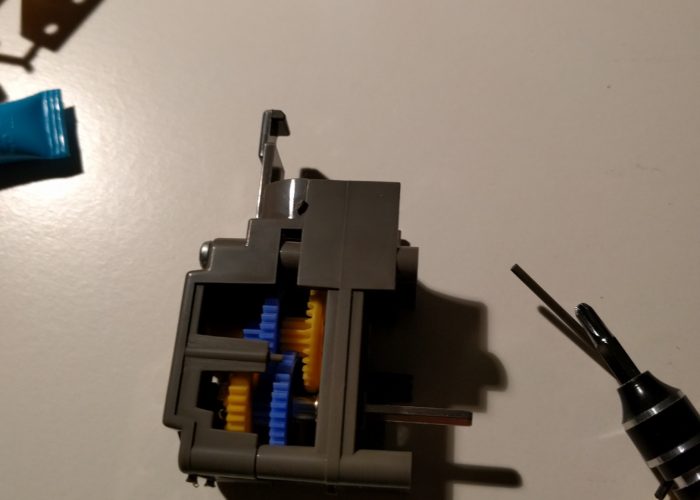
The first is a gear box which allow us to transfer power from the electric motors to the wheels. If you are unfamiliar with electric motors and you have a few hours to kill, I would recommend doing some reading on the topic as it is pretty fascinating. But in short, for most motors, especially the ones you are likely to find on hobby robots, you need some type of power transfer system. Hooking the motors up directly to the wheels will result in burning your motors out.
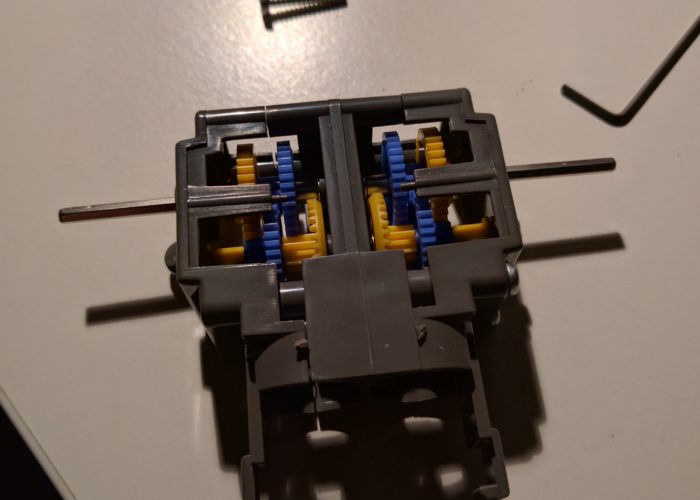
The gearbox assembly was a bit complicated, but not necessarily difficult. The tricky part is that you need to have all of the drive shafts and gears lined up properly before you can tighten down the housing to hold things in place. So it might take a few attempts, but once you get a sense of how the gears are supposed to fit together, it is pretty straight forward.
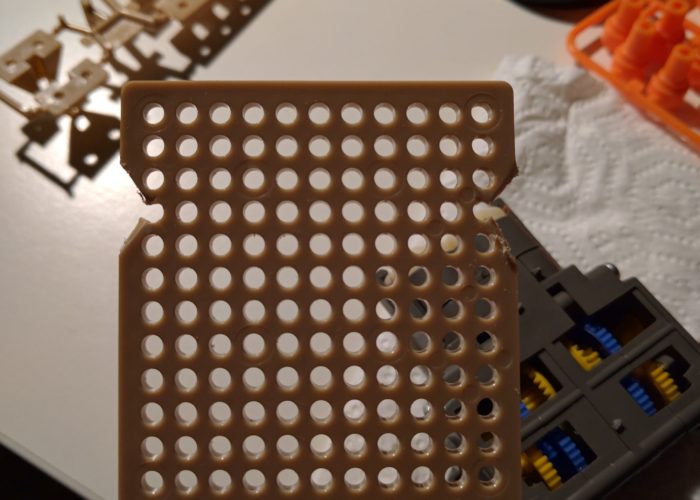
The universal plate is a nice mounting option for your gearbox as well as the the track and wheel set. Tamiya clearly designed these three parts so that they would work together. For some reason the latest version of the twin gear box was widened such that the mounting holes are now wider than the plate set. The downside is you now have to make some cuts to the plate set and use a mounting adapter (included with the gearbox) in order to mount the gearbox. I’m sure there is a reason for it, but seems like an odd design choice considering these three components were clearly meant to work together.
-
 The gear box parts!
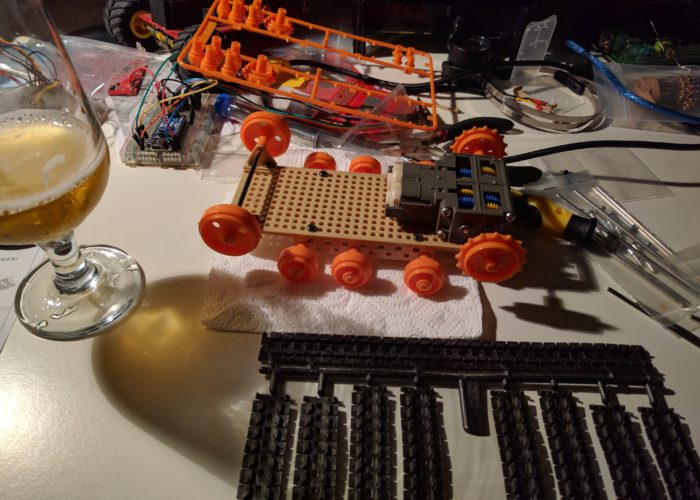
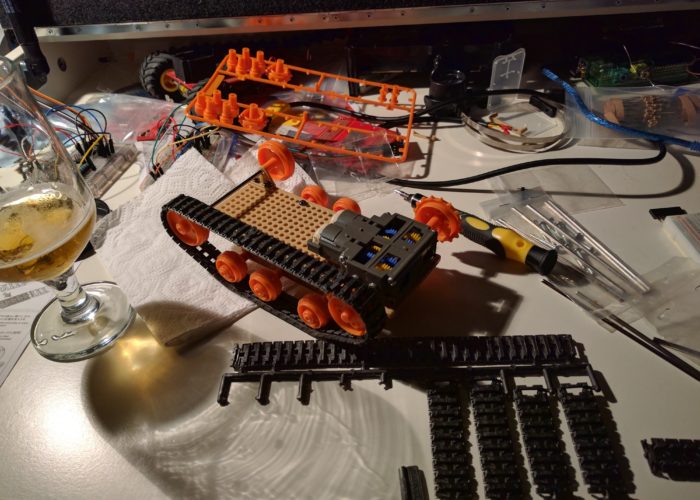
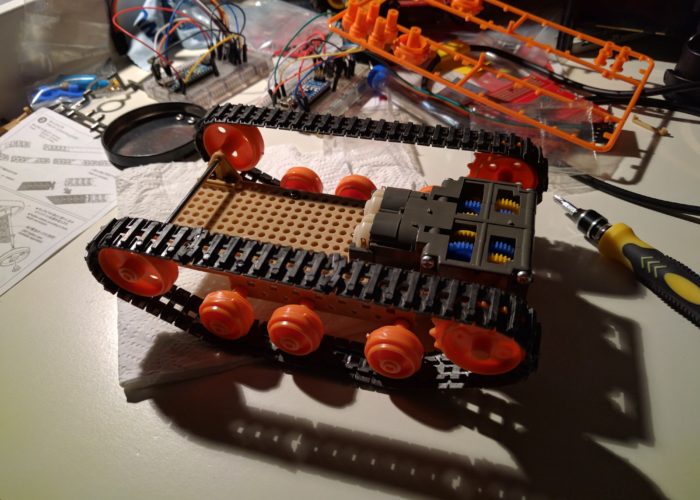
Once the gearbox was mounted to the plate set, I mounted the track and wheel set. I dug around online to see what some of the possible configurations were, and I think I settled on the best configuration that requires the least amount of custom modifications (see the slideshow for the configuration). Depending on the electronics that you plan to use and your ability to build/modify parts, you may want to change the design up. For example, this robot configuration seems to be a fairly space efficient configuration that doesn’t require too many modifications to the parts.
Now that I have the robot chassis assembled, my next task is to start getting some control electronics working. The plan for now is to prototype on a breadboard, and then if possible, either mount the breadboard, or move the components over to a prototype board. Either way I am looking forward to getting the robot up and running. My cat needs someone(thing) to keep her company during the day!